It has become something of a tradition at our school for my friend and colleague Deb and I to dress like fools for our students. What can we say, we like molding the minds of America’s youth WHILST embarrassing ourselves. And we certainly don’t want to leave you out, dear friends. So, for your viewing pleasure, some of our favorites through the years:

The Disney Princesses

Biking Vikings.

Giddy Up!

(My class pet, Watson, who was not happy with me.)
A few years ago, Deb and I crafted Valentine’s Day shirts to wear for our students on the 14th. We found colorful and anatomically correct hearts on the internet, printed them on iron-on transfer paper and then ironed them on. I wish I still had this shirt so that I could showcase the poor quality of the transfers. After one day of wear, they were rolling off of the fabric. After washing, the were fading and disintegrating. As we found out last night, iron-on transfers have come a LONG way!
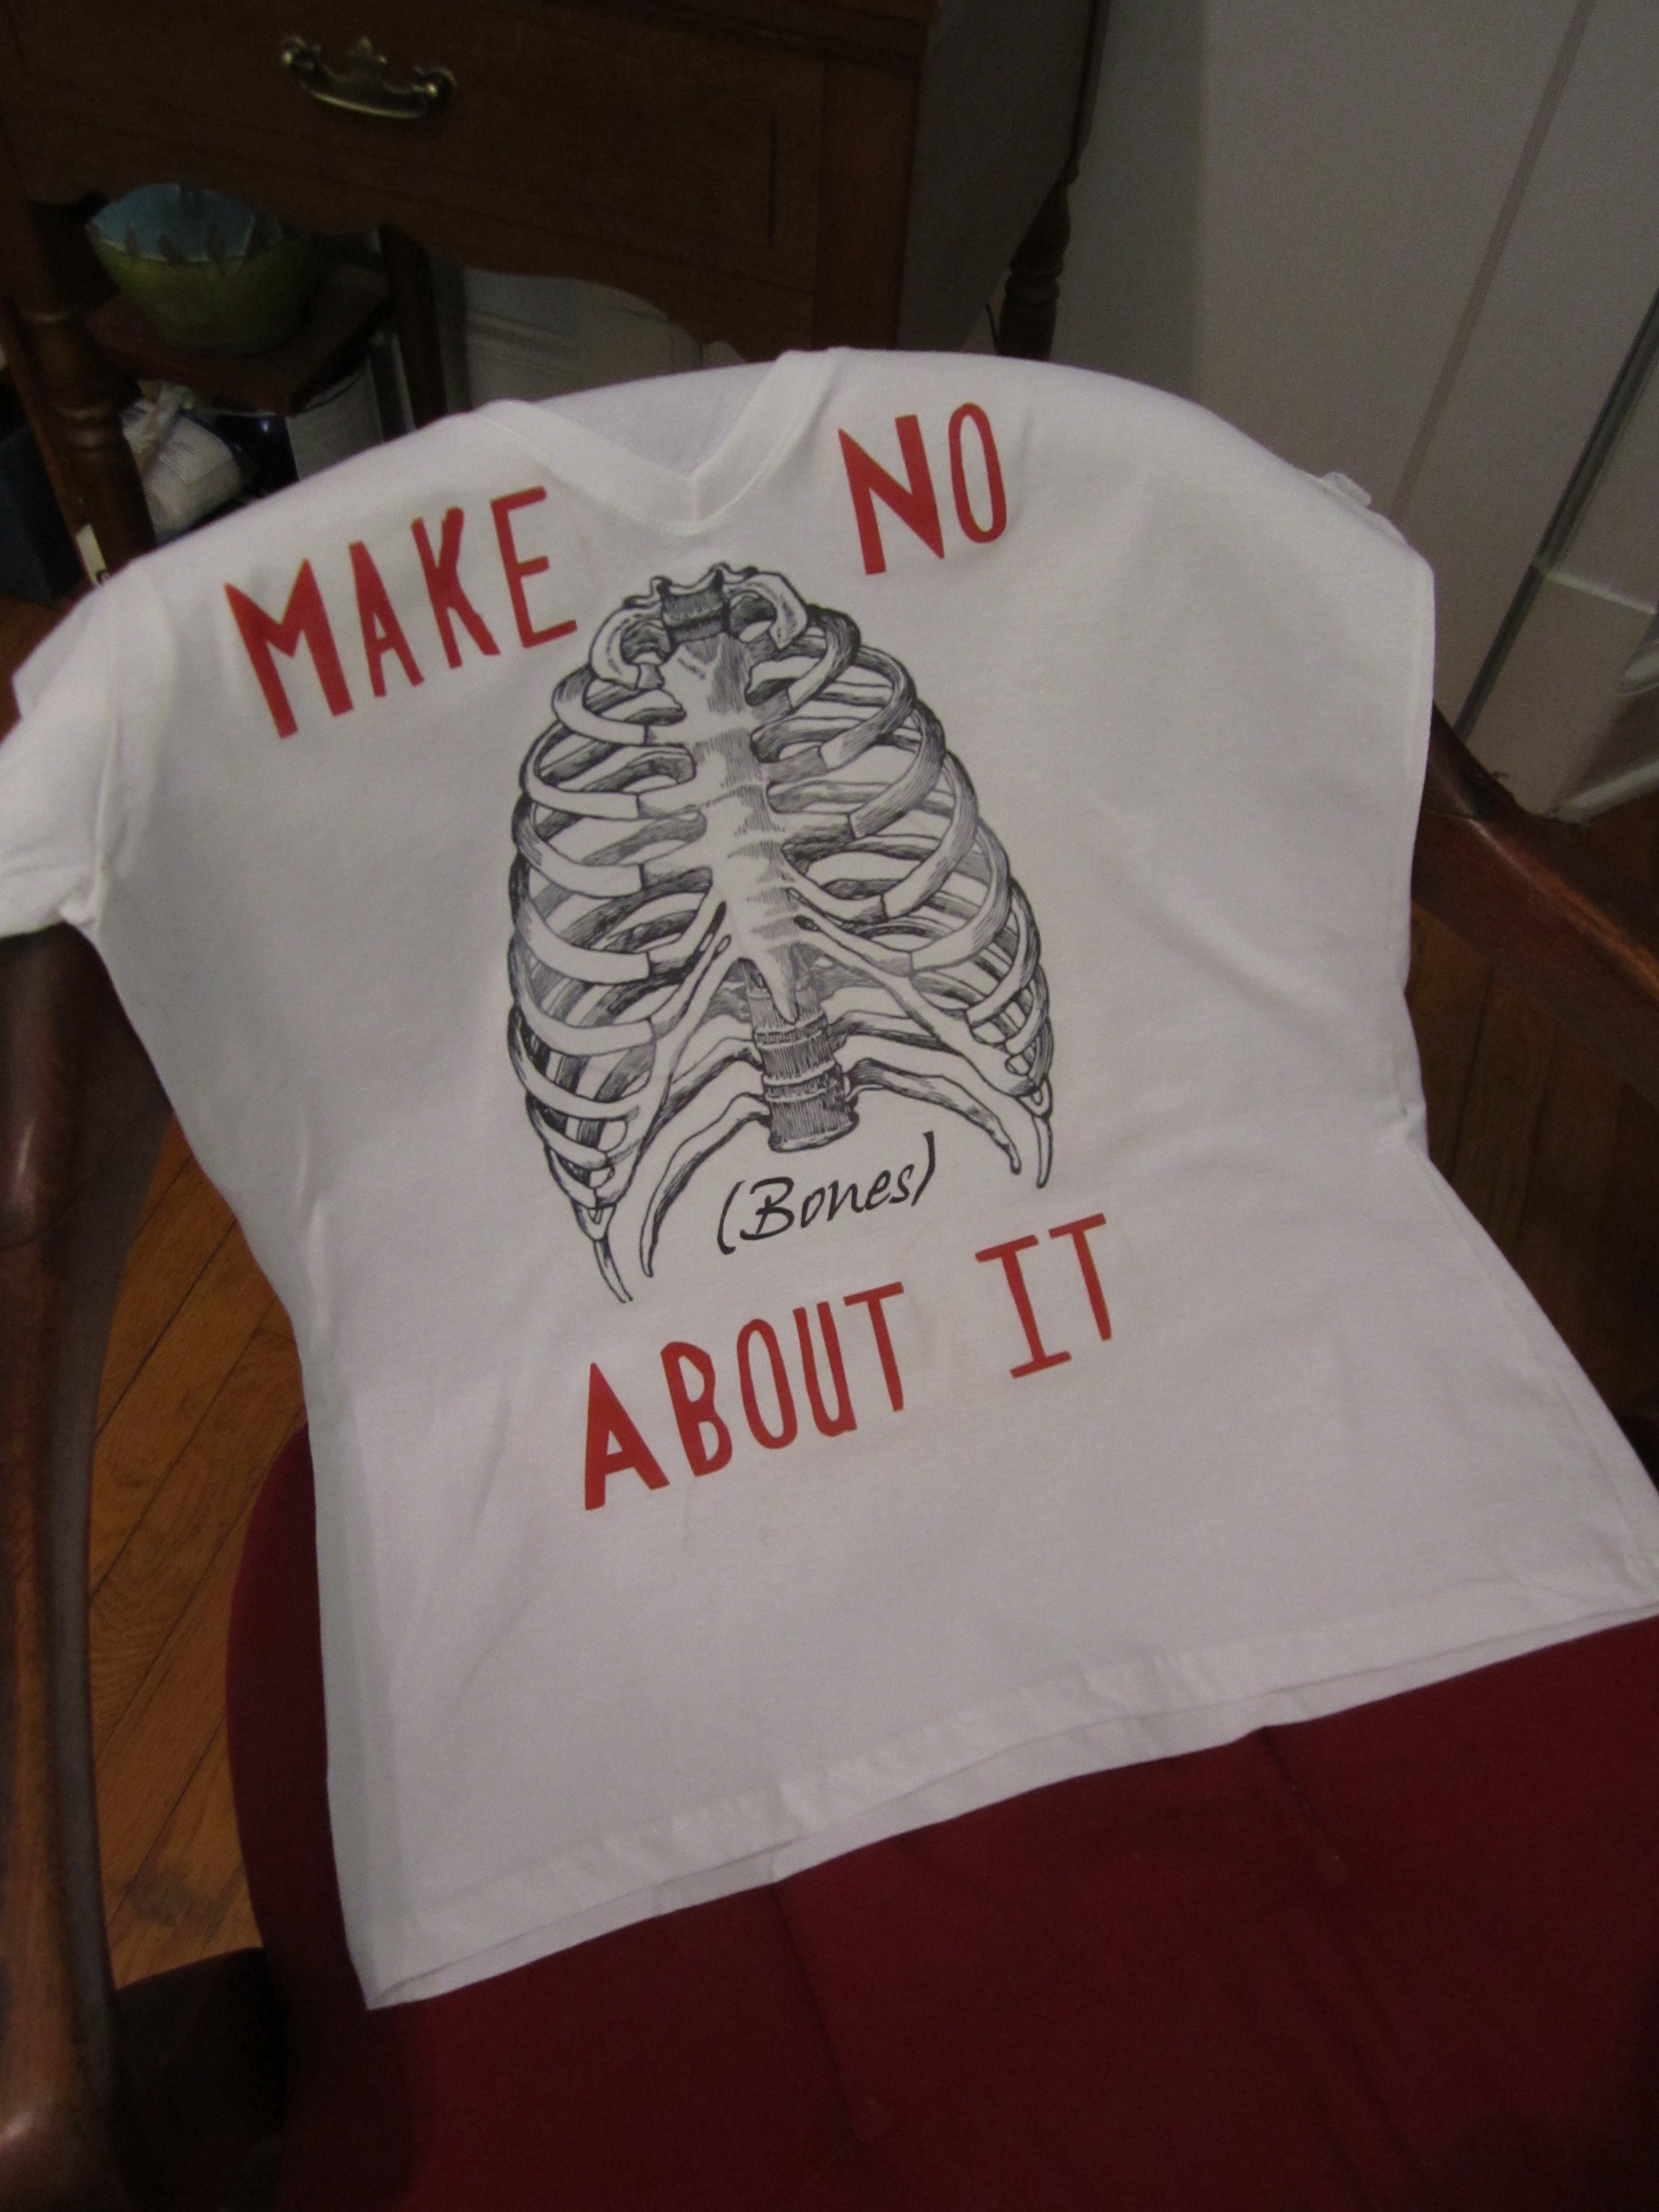
We began in the same way, thinking up geeky, science puns and finding (read: illegally stealing) graphics from the interweb. We also wanted a really great font for our wording. We started off looking for “bloody” fonts, as we thought they would go nicely with the gross anatomy theme. As you might guess bloody fonts have some hilarious names–bloodgutter, homicide effect, creeps Ille, solstice of suffering, etc. After looking at all of them and deeming them cheesy, we went with the TrueBlood font. Quirky and odd in that good way.


After printing out all of our great images using my Cannon inkjet printer, we cut them all out as close to the ink as possible. IMPORTANT NOTE: If you are printing anything with words, you need to remember to flip the image horizontally in the printer dialog box. We remembered this the hard way with Deb’s heart. Doh!


Then, all we had left was the ironing. You’re not supposed to use the ironing board. Not sure of the logic there. So, we put a pillowcase down on the glass of my sewing table and used that just to be safe. Three minutes for larger pieces and half that for smaller pieces and you are good to go. Some pieces seemed to take longer, as when we began to peel them up, there was still a lot of color on the paper. In those instances, we just laid the paper down again, and kept ironing. It seemed to work fine. When you have pieces that lie close to one another, you need to put the paper backing down so that you don’t lift up the color of the adjacent piece.


All in all, it took us about 30 minutes after we finally stopped arguing over the aesthetics. (Read: When Deb finally bowed to Jen’s awesome sense of design.) And, then we had our professional looking products that not only demonstrate our talents but also how much we love our rugrats.